DIY: Timing Belt tensioner replacement
Posted: Wed Jun 27, 2012 10:20 pm
Hello Guys and Gals,
About a year or so ago I printed out some ideas for timing belt tensioner replacement with plans to replace them while i had everything apart and I ended up not. Well last week I started to hear them and I thought I would share what I did and what I replaced them with.
Here is the article that I printed out, http://www.sdb-e.com/TENSIONER/TENSIONE ... LD-JCS.pdf , and that doesnt work you can get it here as well, http://www.goldwingfacts.com/forums/forum9/56720.html
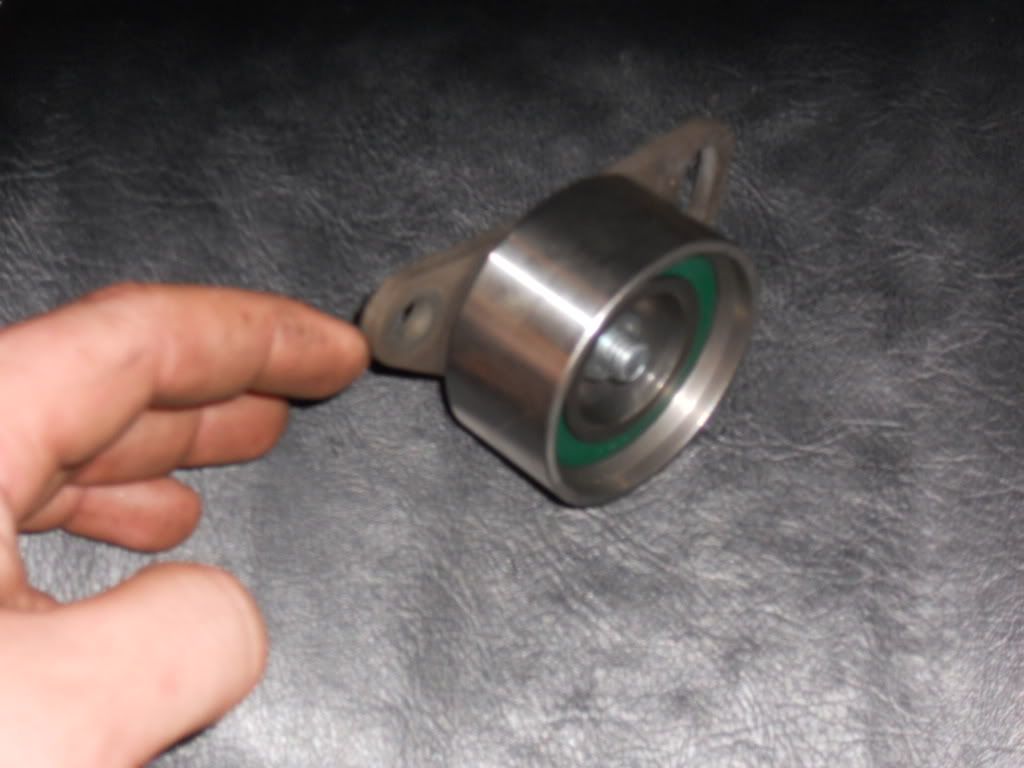
I got my my pulleys off of rockauto.com for $32 shipped part number T42015 (the link above has more part numbers of the same pulley if there is a brand that you like, i.e. gates)
And a way we go:
I removed the rad to give me more room to work with
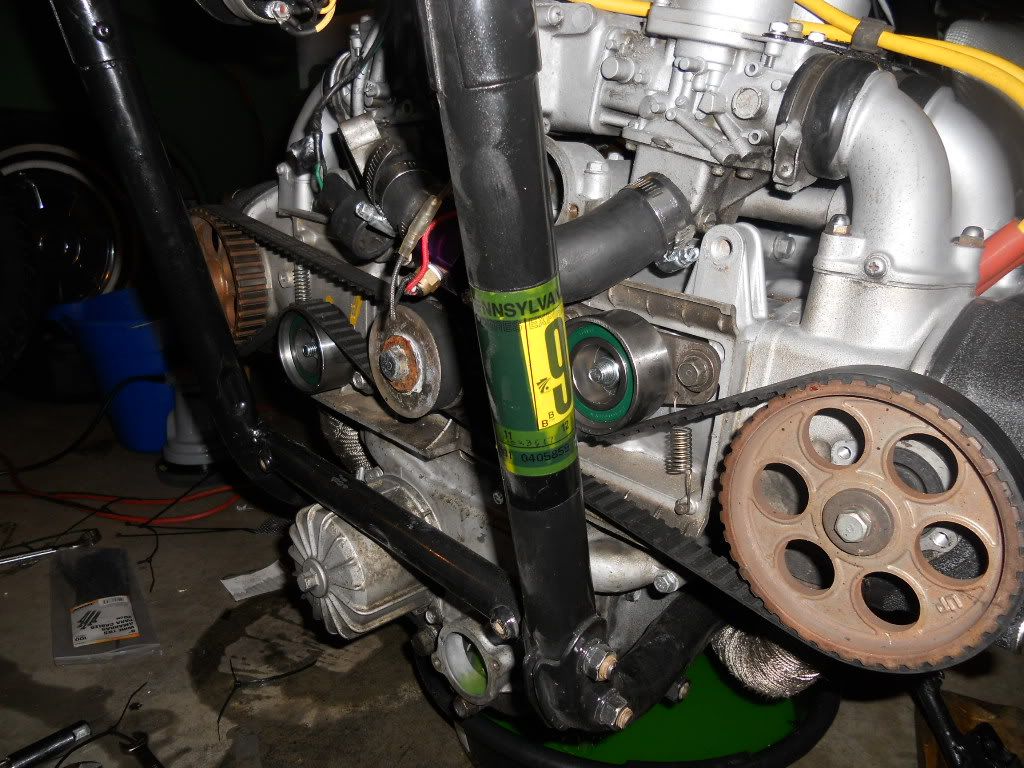
If you run cover-less like me, you are here, if not remove your timing belt cover

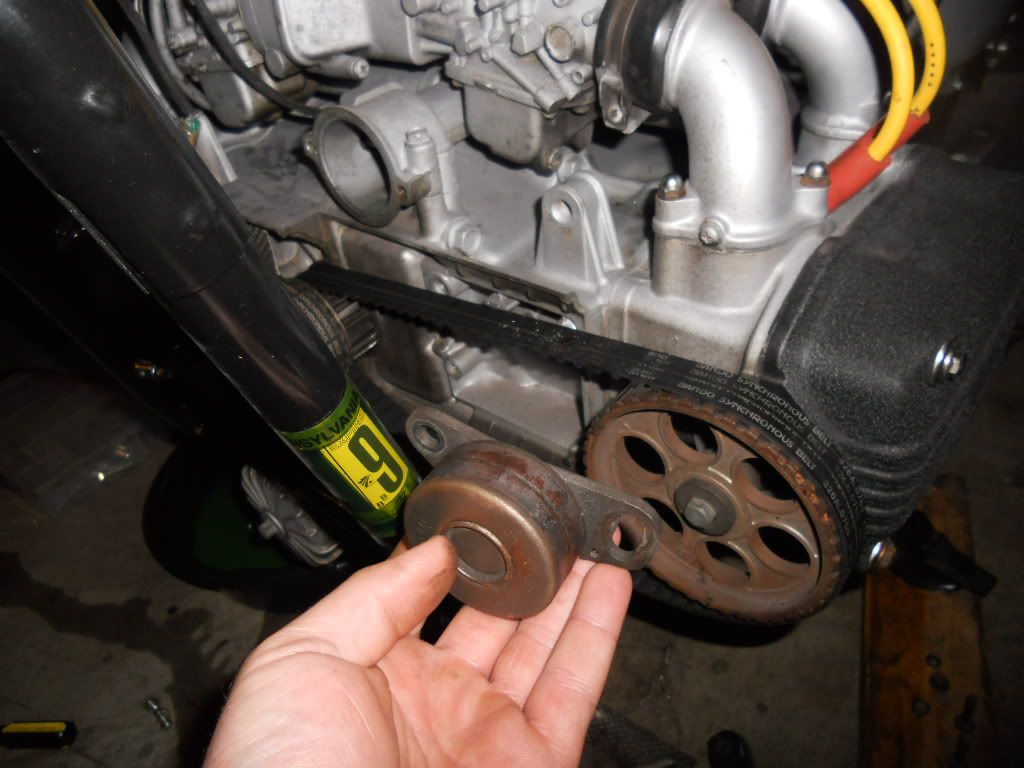
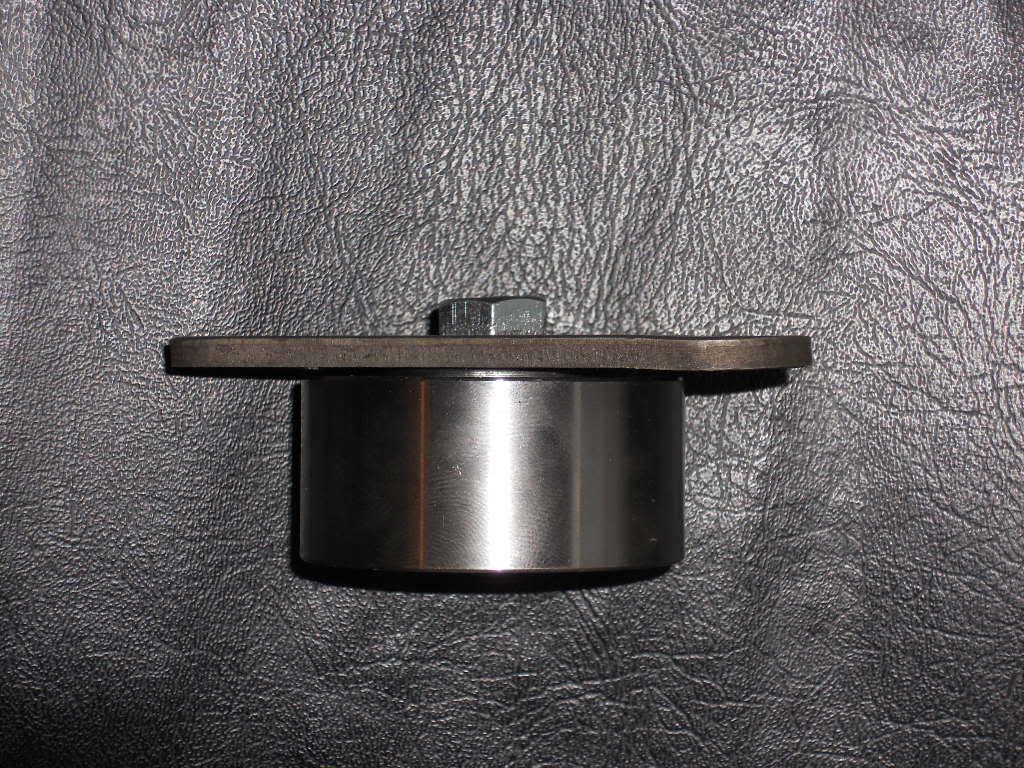
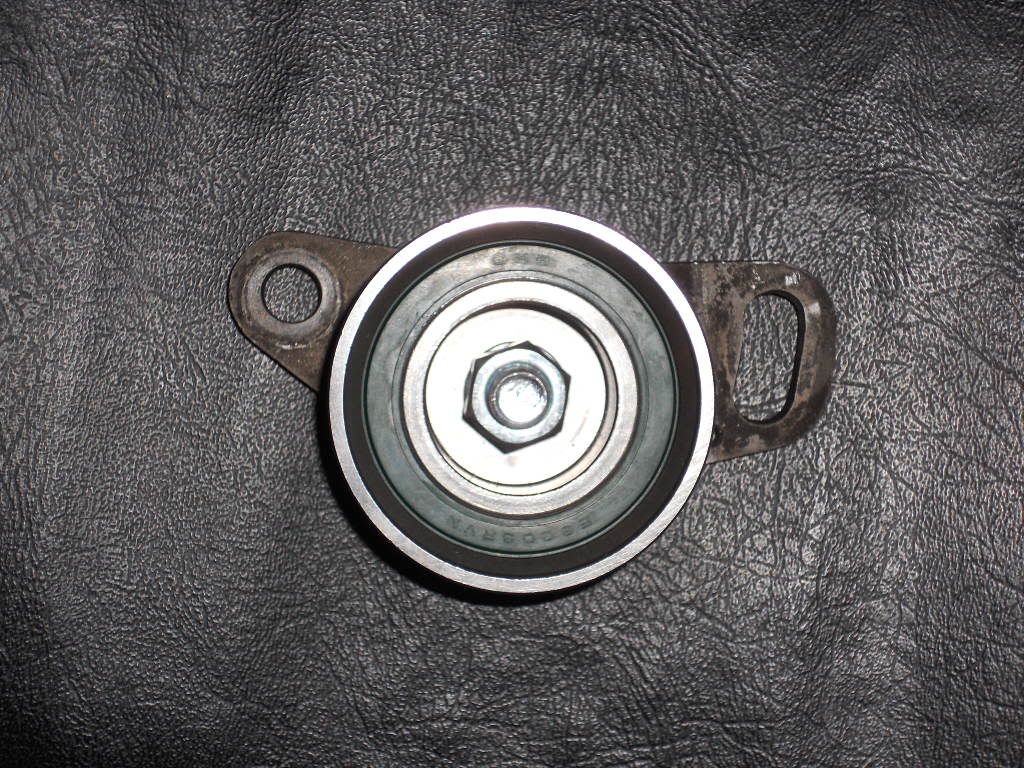
Remove the tensioner
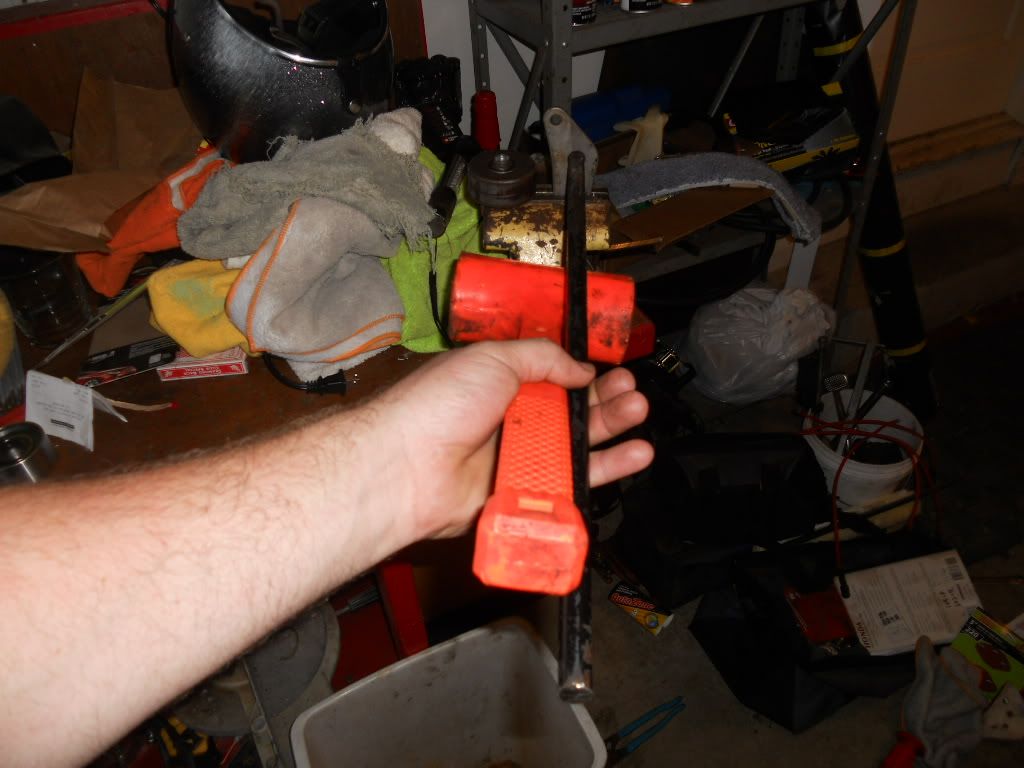
put the assembly in a vise or something that will hold it still

If you do it like i did you will bend the bracket, ....so i bent it back
Use a drill bit bigger than the hole to take off the ridge and use a large hammer and something narrower than the hole and smack out the idler pulley.
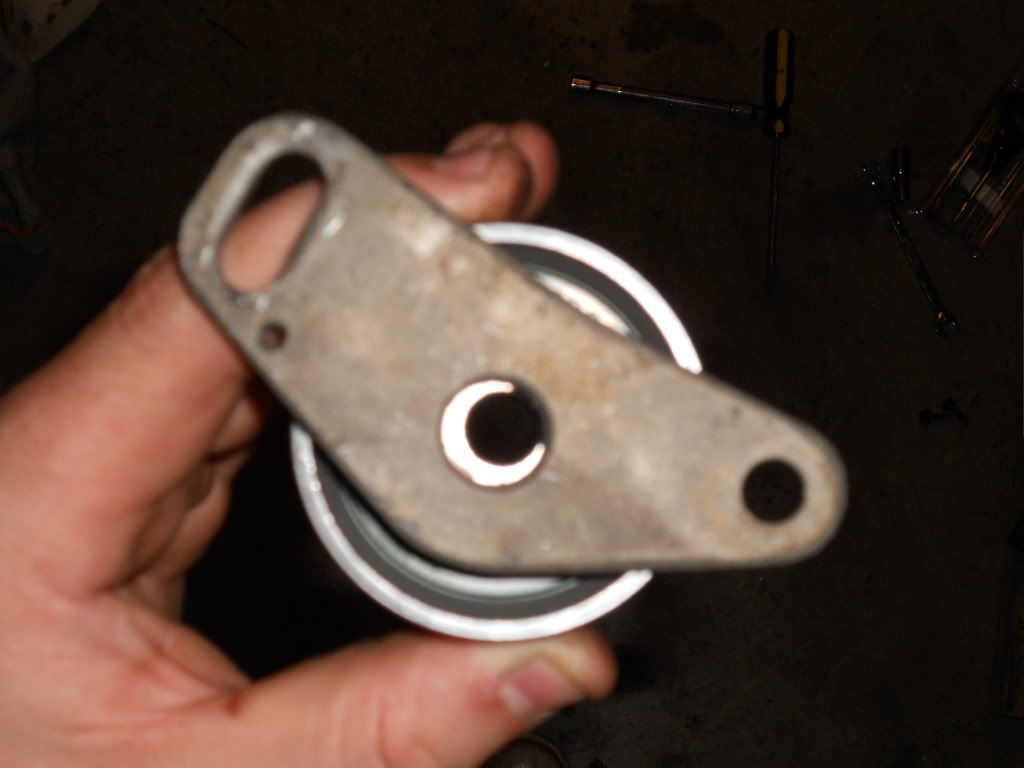
You now have a flat plate with holes in it and an idler pulley that has a much smaller hole in it...... We need to shim in the hole on the mounting plate to match the hole on the idler so that the pulley is mounted in the center of the hole.
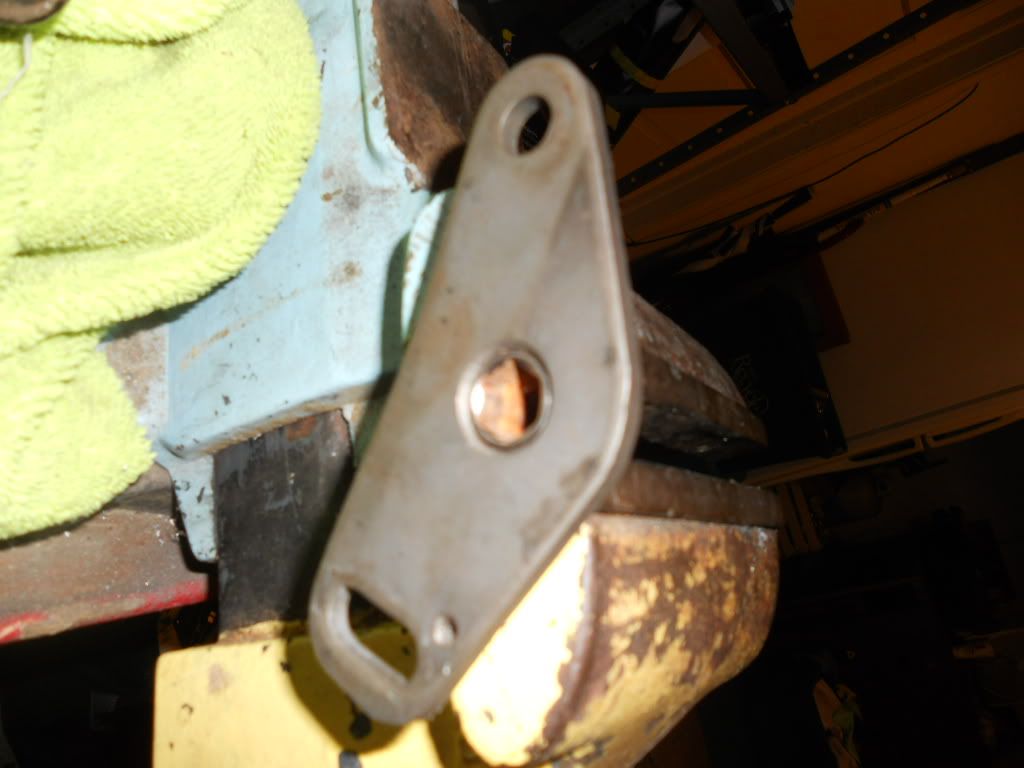
I am MR. Cheap, I found a rusty socket that fit inside the hole of the mounting plate and with that I made my shim.
Make sure that when you cut you shim, weather you use pipe or do what I did, it is narrower that your mounting plate or else the idler pulley will not bolt flat to the plate and it will be cock-eye and rub again your belt that wrong way.
Install your shim in the plate, I was able to press mine in with my thumbs

Now find your hardware. I took the pulley, mounting plate and shim to the hardware store, and matched them up with a 10mm bolts and a nylon locking nut to match, and bolt your pulley to the plate
Tighten up your bolts, and bolt back on to your motor.
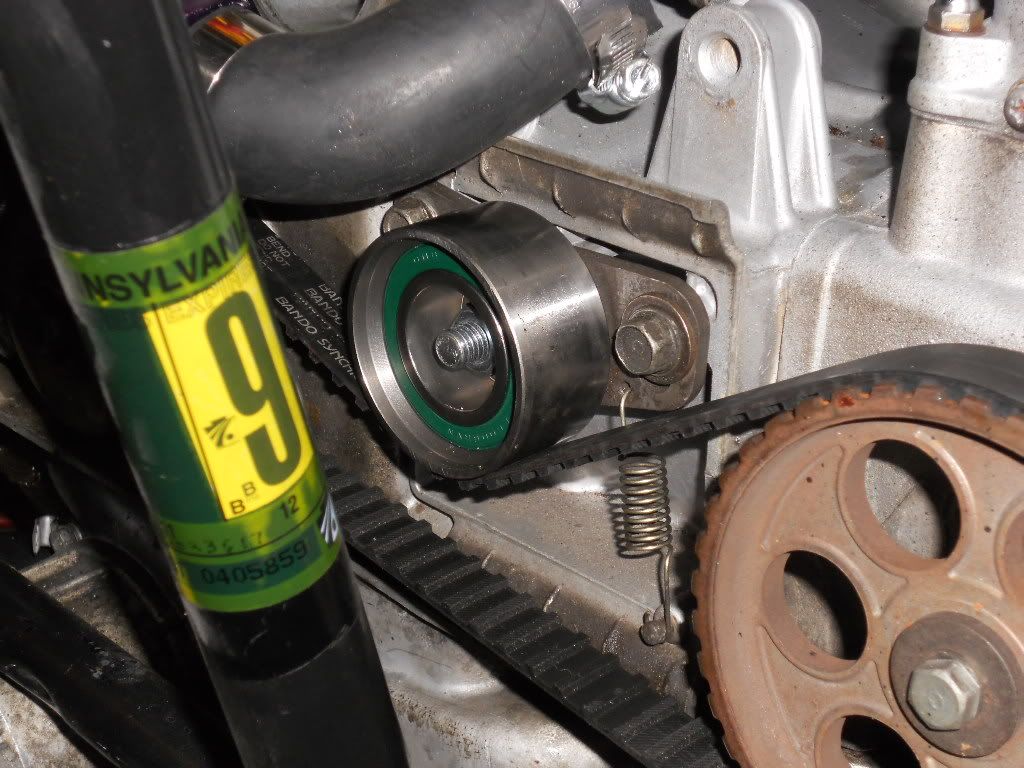
Then do the other side the same way, and your all set.
Oh and dont forget to put your rad back on and fill with fluid
About a year or so ago I printed out some ideas for timing belt tensioner replacement with plans to replace them while i had everything apart and I ended up not. Well last week I started to hear them and I thought I would share what I did and what I replaced them with.
Here is the article that I printed out, http://www.sdb-e.com/TENSIONER/TENSIONE ... LD-JCS.pdf , and that doesnt work you can get it here as well, http://www.goldwingfacts.com/forums/forum9/56720.html
I got my my pulleys off of rockauto.com for $32 shipped part number T42015 (the link above has more part numbers of the same pulley if there is a brand that you like, i.e. gates)
And a way we go:
I removed the rad to give me more room to work with
If you run cover-less like me, you are here, if not remove your timing belt cover
Remove the tensioner
put the assembly in a vise or something that will hold it still
If you do it like i did you will bend the bracket, ....so i bent it back
Use a drill bit bigger than the hole to take off the ridge and use a large hammer and something narrower than the hole and smack out the idler pulley.
You now have a flat plate with holes in it and an idler pulley that has a much smaller hole in it...... We need to shim in the hole on the mounting plate to match the hole on the idler so that the pulley is mounted in the center of the hole.
I am MR. Cheap, I found a rusty socket that fit inside the hole of the mounting plate and with that I made my shim.
Make sure that when you cut you shim, weather you use pipe or do what I did, it is narrower that your mounting plate or else the idler pulley will not bolt flat to the plate and it will be cock-eye and rub again your belt that wrong way.
Install your shim in the plate, I was able to press mine in with my thumbs
Now find your hardware. I took the pulley, mounting plate and shim to the hardware store, and matched them up with a 10mm bolts and a nylon locking nut to match, and bolt your pulley to the plate
Tighten up your bolts, and bolt back on to your motor.
Then do the other side the same way, and your all set.
Oh and dont forget to put your rad back on and fill with fluid