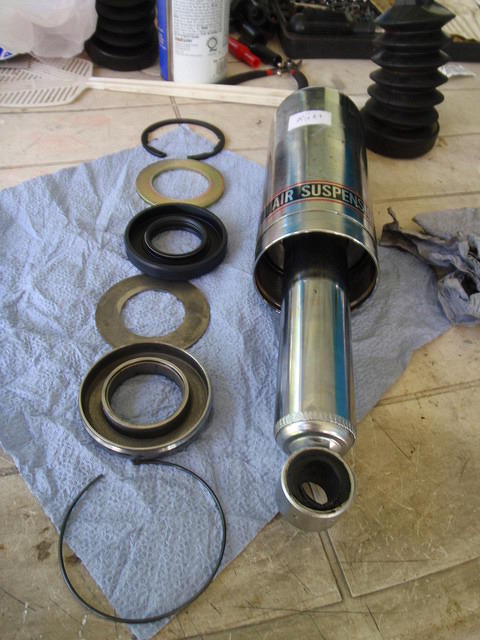
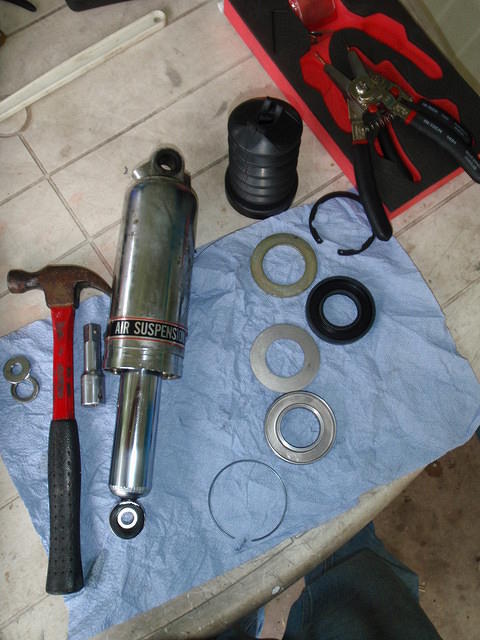
These are the parts that make up the shock.

Parts laid out in order of assembly, bottom to top.
Spring clip installed.

Guide bushing installed. Nope, I didn't forget the AFT, I'll be filling it from the top with a small baster. Much cleaner that way.

Installing back-up plate A, the thinner of the two.

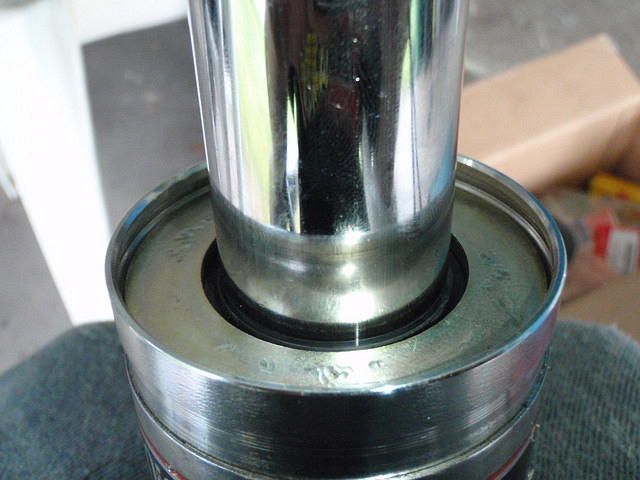
I used a small hammer, half-inch extension, and back-up plate B to tap new seal in place.

Seal seated, with groove for circlip clear.

Circlip installed.
Dust boot installed.

OK, let's do this once more, with a little more detail!
Spring clip.

Installing guide bushing.

Back-up plate A.
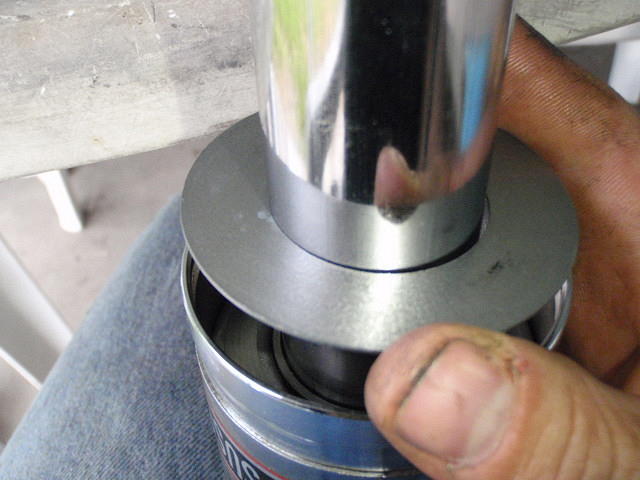
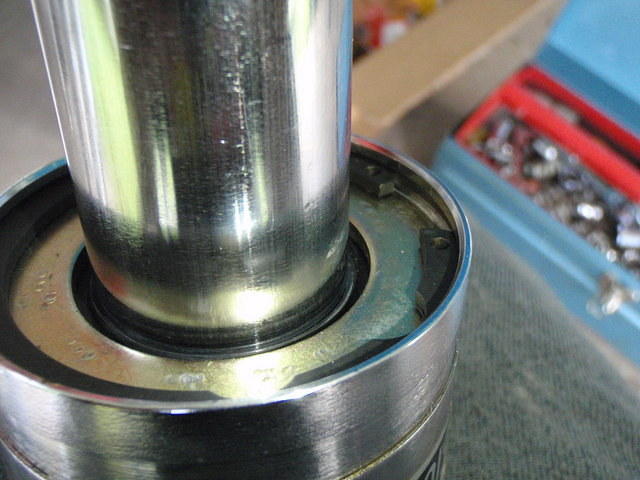
Press seal in place as far as you can by hand, keeping it straight.

Use back-up plate B and tap seal in further with light hammer, rotating the shock a quarter turn each time, and taking care not to hit the shaft.

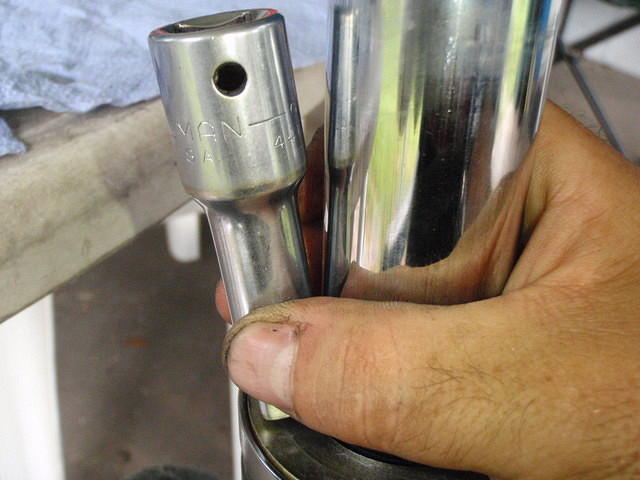
Once the seal is flush, you will need a little assistance to tap it in further. You can use a piece of 1 1/2" or 2" PVC if you have it.

I used a 1/2" extension (since I had it on hand) to tap around the seal, keeping the seal straight by driving it in by small increments and going around the seal in a front/back/side/side pattern.


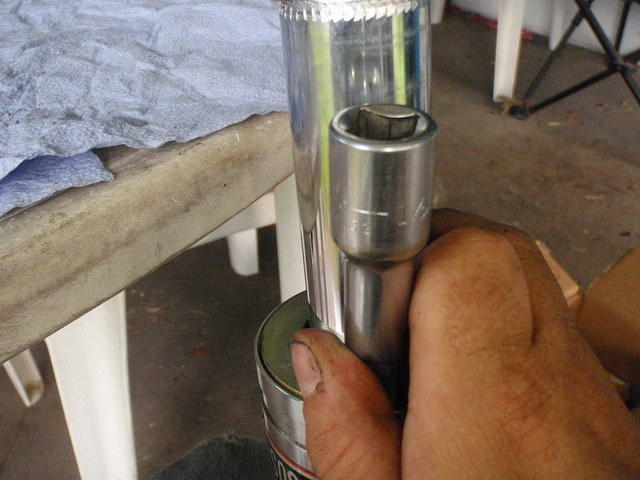
Continue until seal is fully seated and circlip slot is clear.
Then install the circlip.

It should seat fully in the groove.

To put the boot on, start like this...

then rotate it to the proper position (this makes the boot easier to put on).
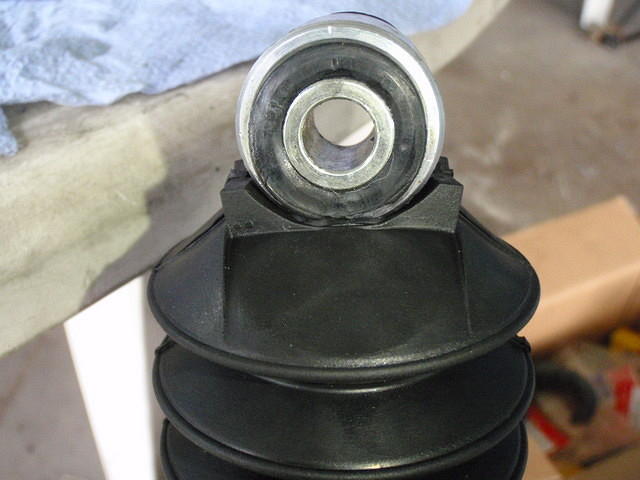
Finally, pull the boot over the body of the shock.

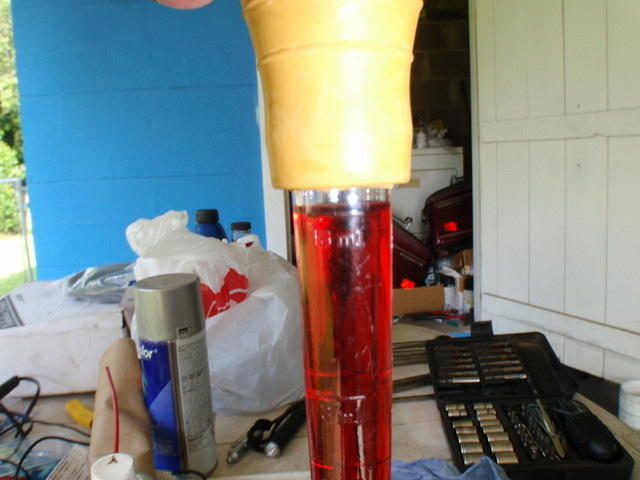
Finished with the rebuild, now to fill them with ATF.

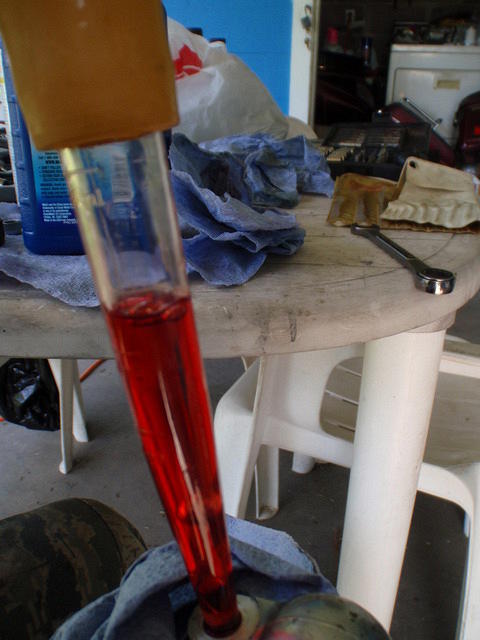
I filled them with 365 cc (ml) of ATF using a 16 ml graduated baster.

Filled to 16 ml each time, except the 23rd time was only 13 ml.
To do this, squeeze the bulb just a little...

until fluid backs up around the tip...
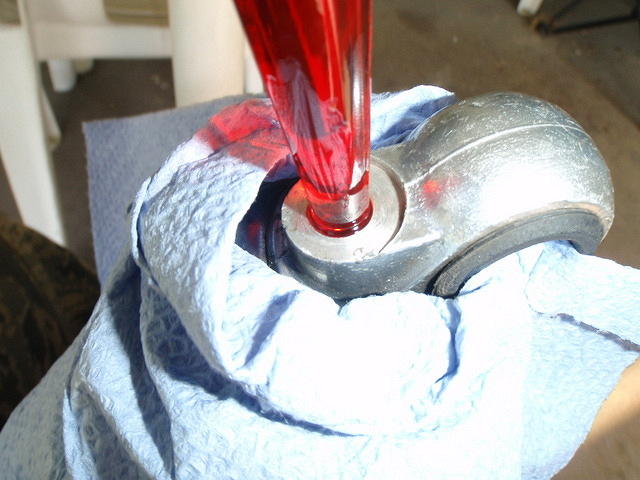
then release the bulb and watch the bubble slowly rise through the fluid.
I carefully reattached the shocks to the air lines without turning them over.

I then reattached the shocks to the bike.

That is all there is too it.