DIY: Timing Belt tensioner replacement

Post your "How To", or share tips and tricks about maintenance related to four cylinder Wings. Only registered users can read this forum.

Moderators: Whiskerfish, Forum Moderators

Post Reply
what huh
Billet Alum. Member
Billet Alum. Member
Posts: 282
Joined: Fri Jun 12, 2009 9:52 pm
Location: Cape May, NJ

DIY: Timing Belt tensioner replacement

#1

Post by what huh »

Hello Guys and Gals,

About a year or so ago I printed out some ideas for timing belt tensioner replacement with plans to replace them while i had everything apart and I ended up not. Well last week I started to hear them and I thought I would share what I did and what I replaced them with.

Here is the article that I printed out, http://www.sdb-e.com/TENSIONER/TENSIONE ... LD-JCS.pdf , and that doesnt work you can get it here as well, http://www.goldwingfacts.com/forums/forum9/56720.html

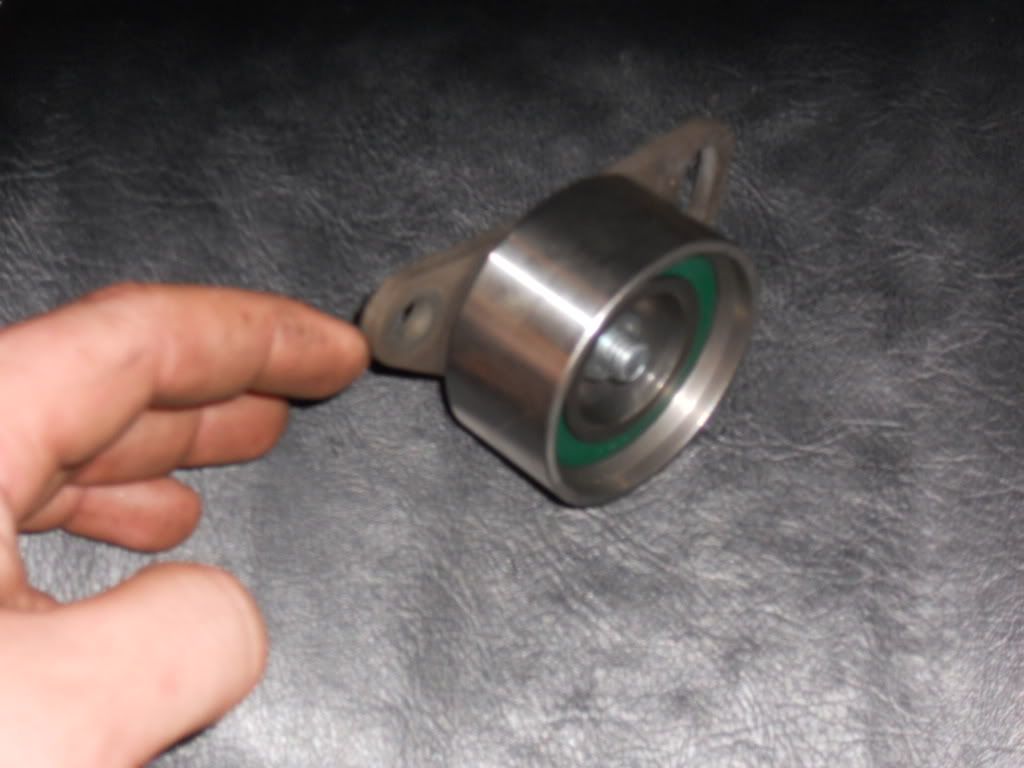
I got my my pulleys off of rockauto.com for $32 shipped part number T42015 (the link above has more part numbers of the same pulley if there is a brand that you like, i.e. gates)

And a way we go:

I removed the rad to give me more room to work with

If you run cover-less like me, you are here, if not remove your timing belt cover
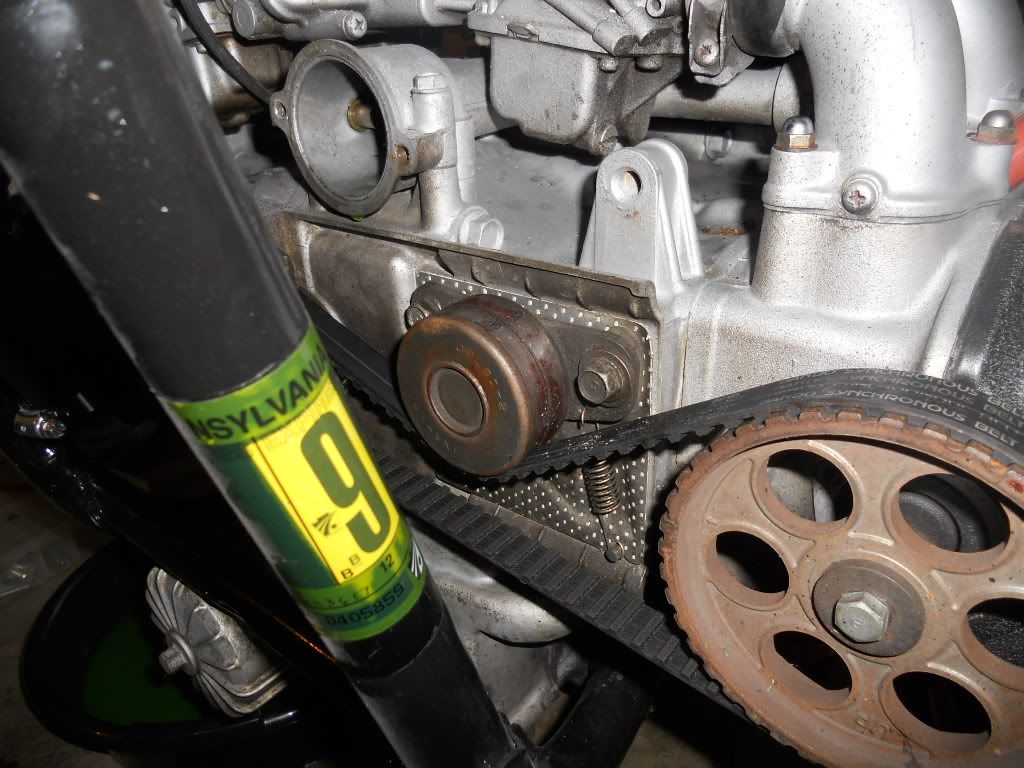
Image

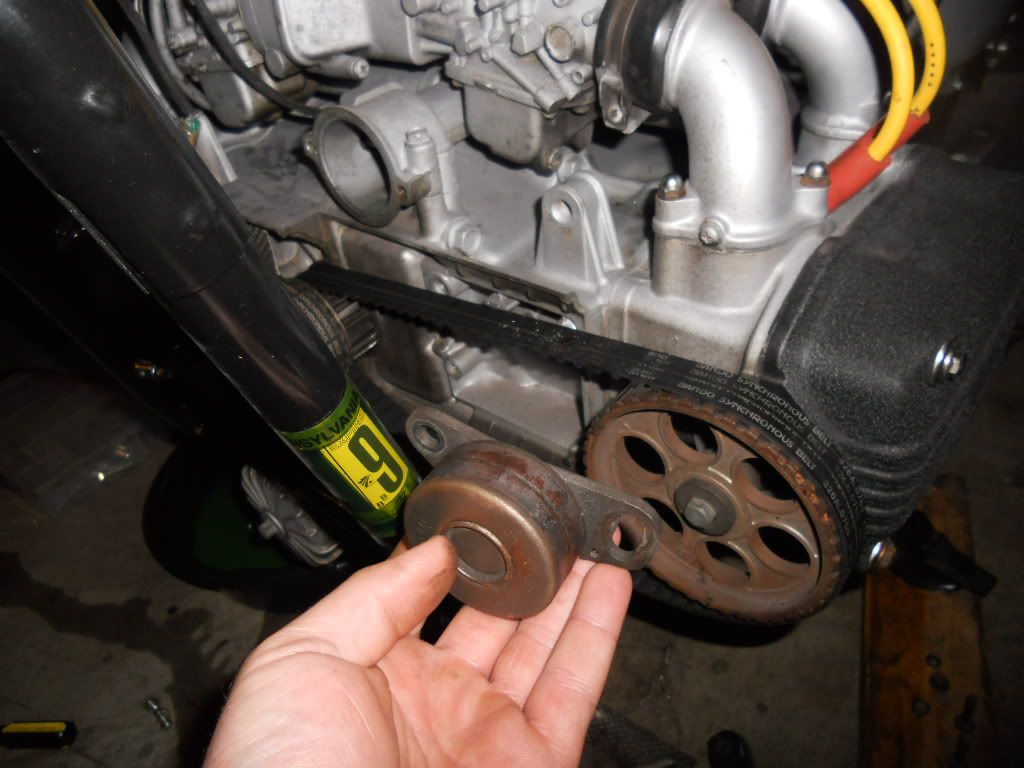
Remove the tensioner

Image

put the assembly in a vise or something that will hold it still
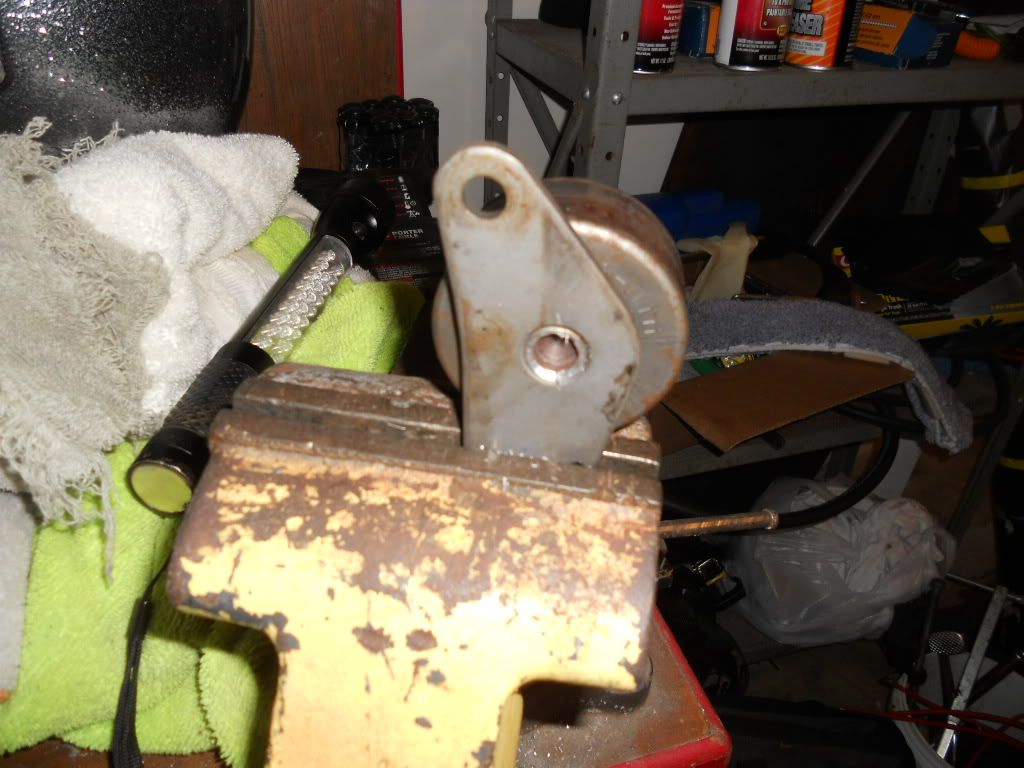
Image

If you do it like i did you will bend the bracket, ....so i bent it back lolol

Use a drill bit bigger than the hole to take off the ridge and use a large hammer and something narrower than the hole and smack out the idler pulley.
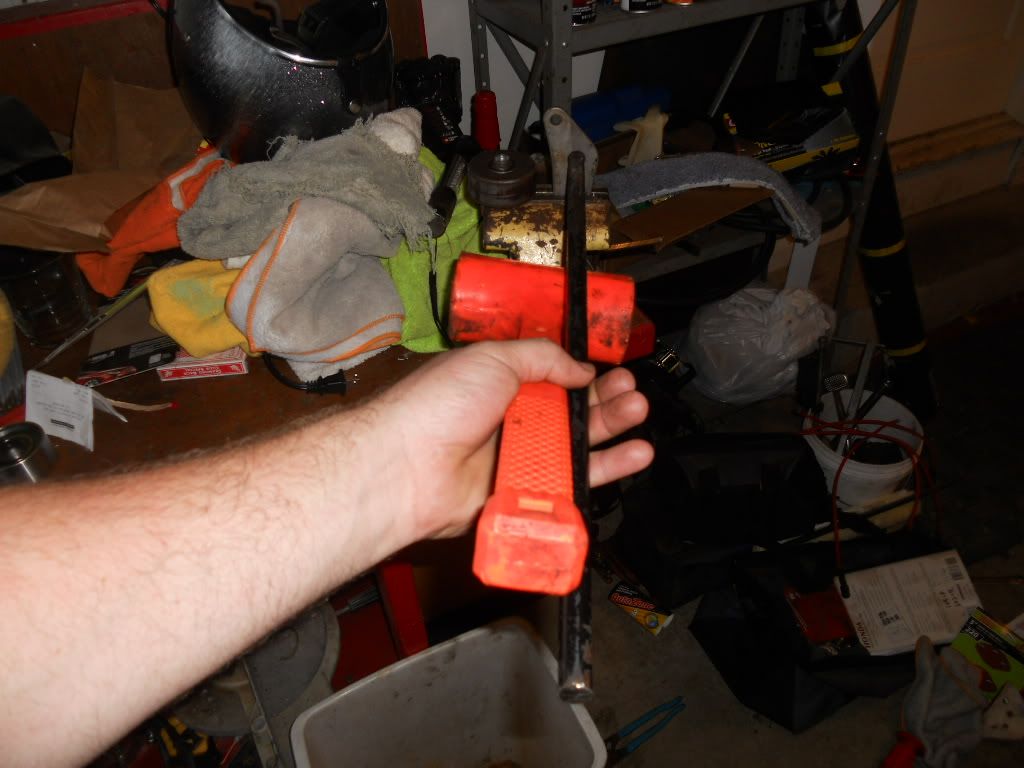
Image

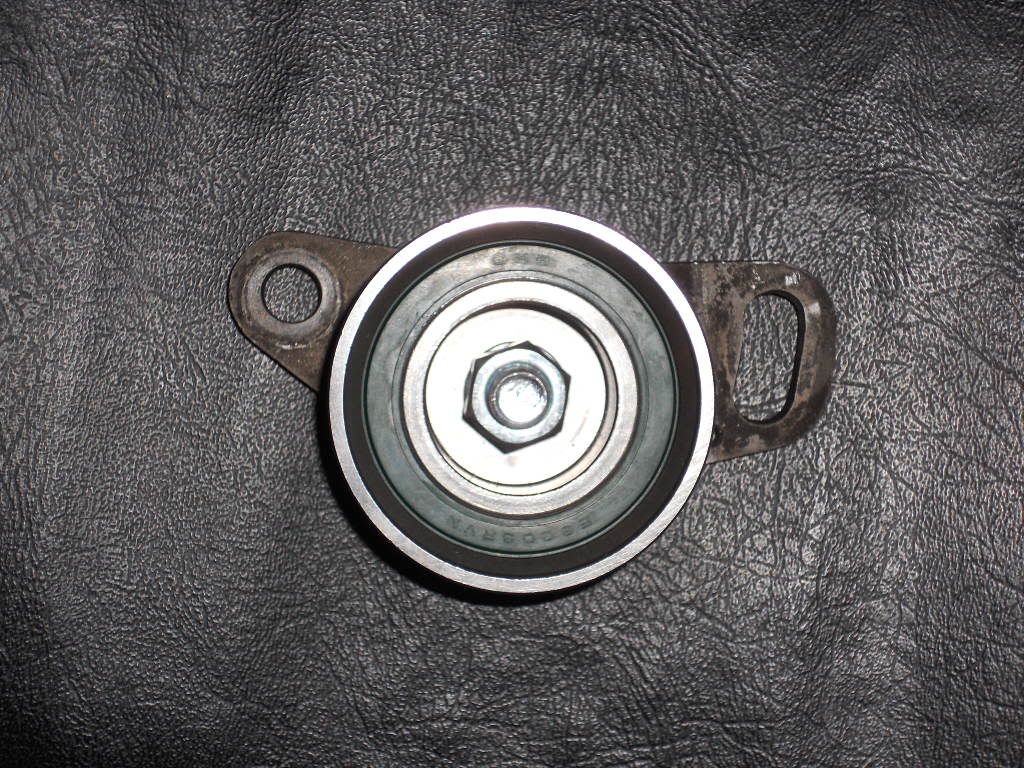
You now have a flat plate with holes in it and an idler pulley that has a much smaller hole in it...... We need to shim in the hole on the mounting plate to match the hole on the idler so that the pulley is mounted in the center of the hole.
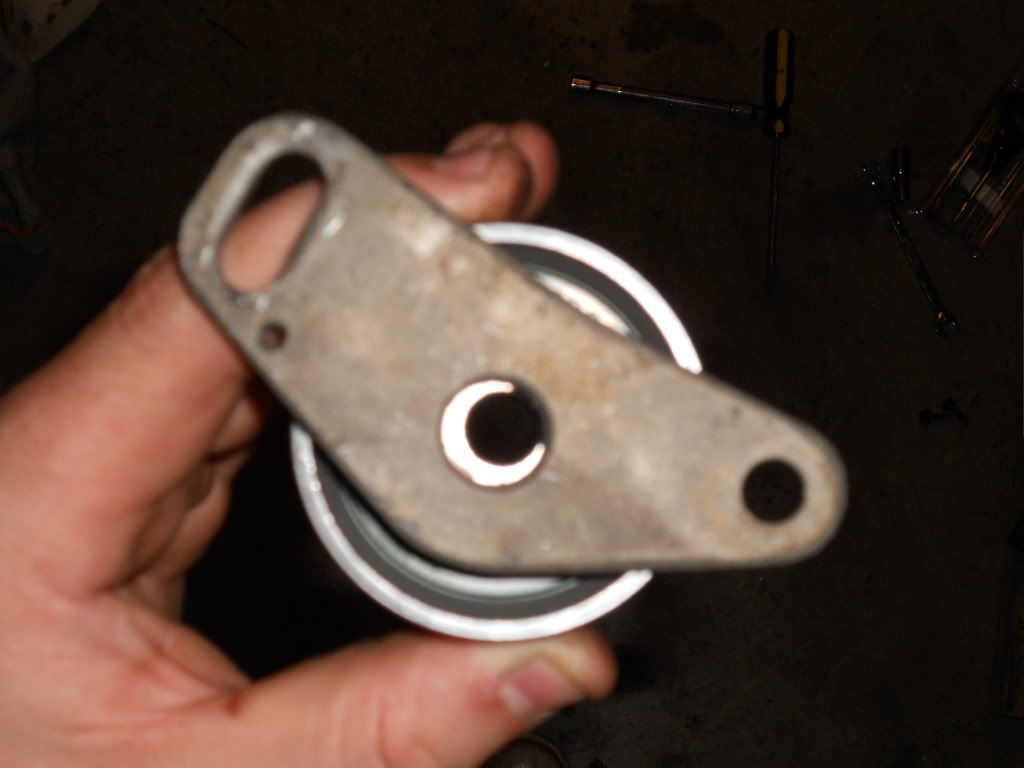
Image

I am MR. Cheap, I found a rusty socket that fit inside the hole of the mounting plate and with that I made my shim.
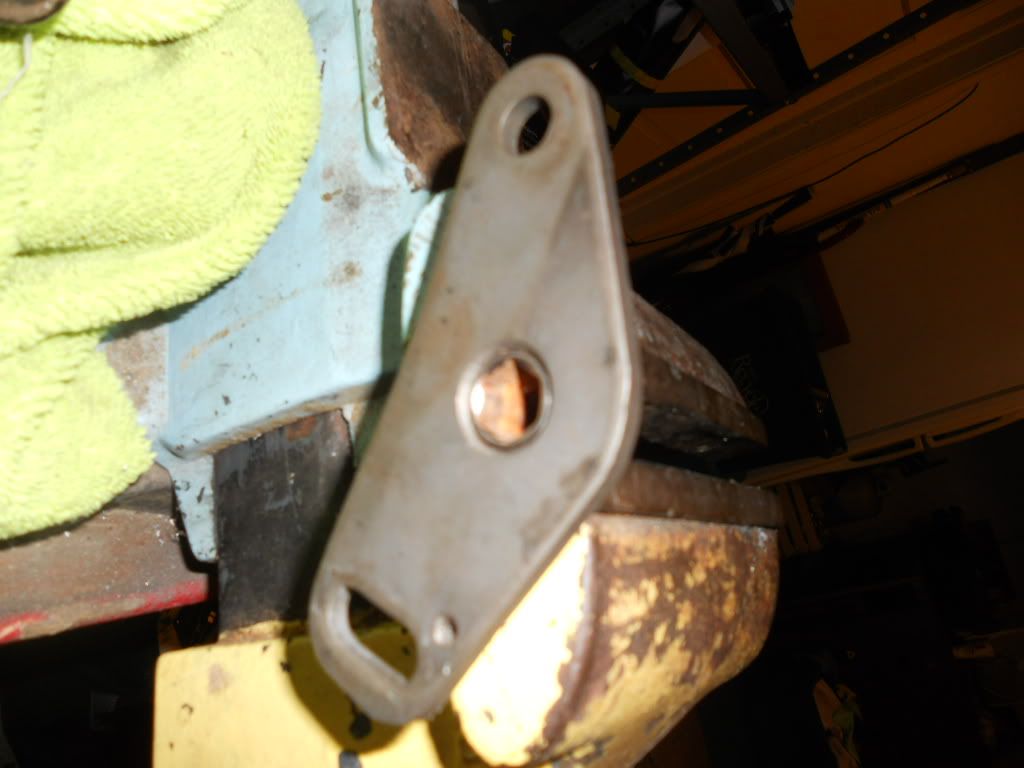
Image

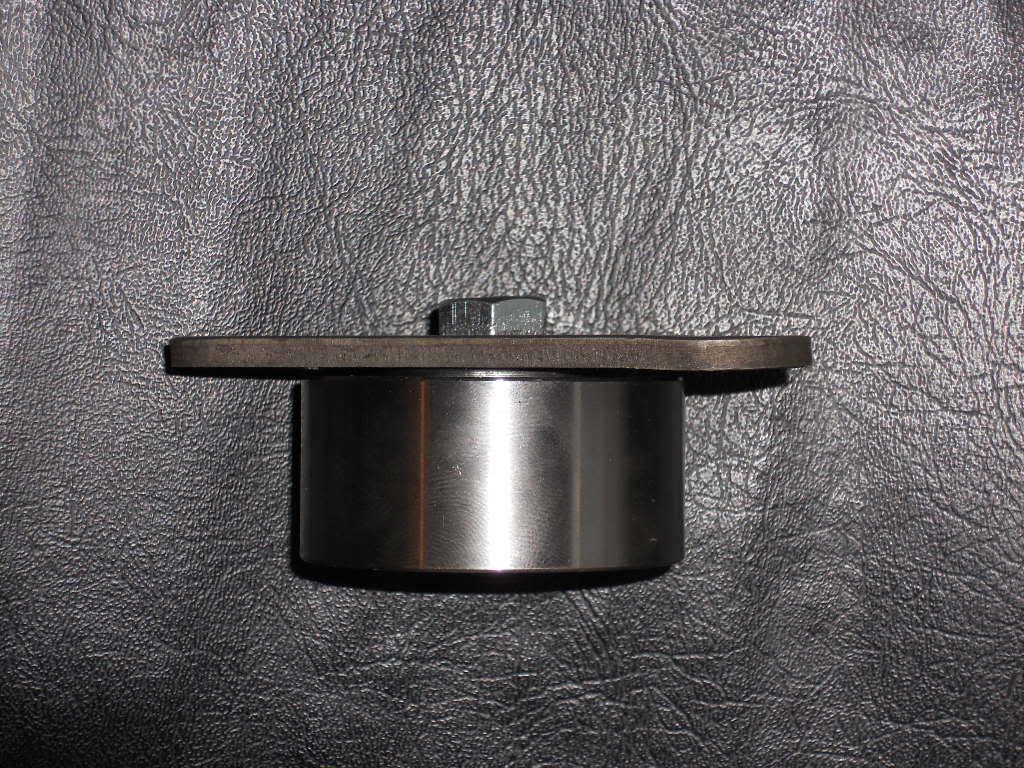
Make sure that when you cut you shim, weather you use pipe or do what I did, it is narrower that your mounting plate or else the idler pulley will not bolt flat to the plate and it will be cock-eye and rub again your belt that wrong way.

Install your shim in the plate, I was able to press mine in with my thumbs
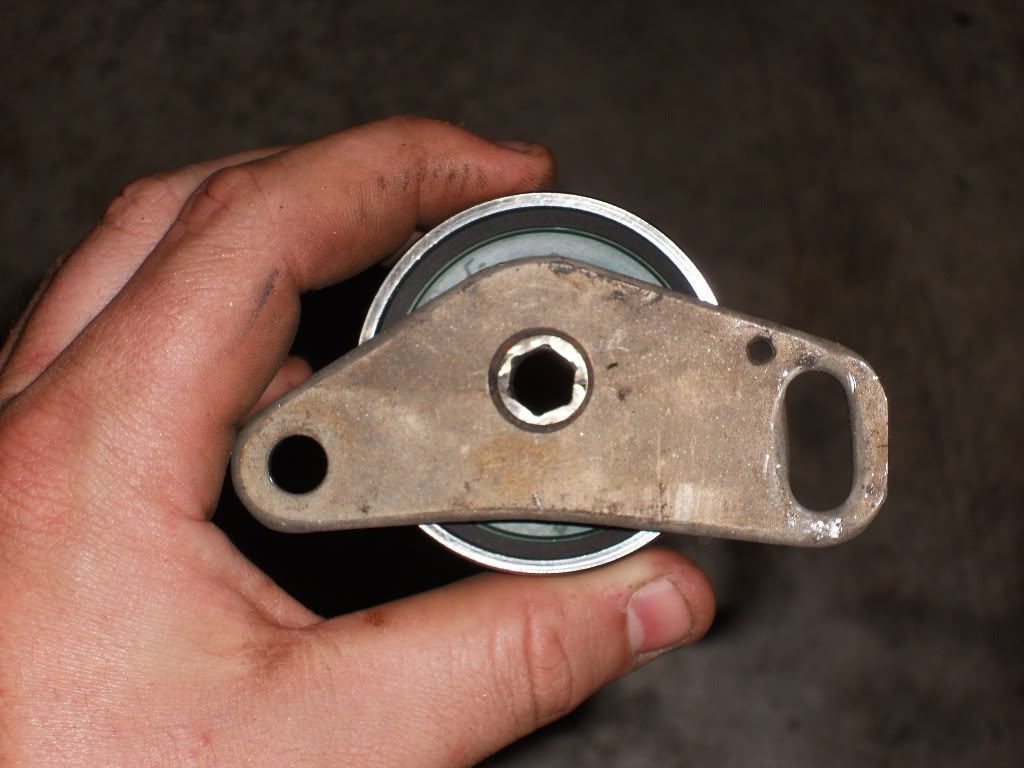
Image

Now find your hardware. I took the pulley, mounting plate and shim to the hardware store, and matched them up with a 10mm bolts and a nylon locking nut to match, and bolt your pulley to the plate
Image

Image

Image

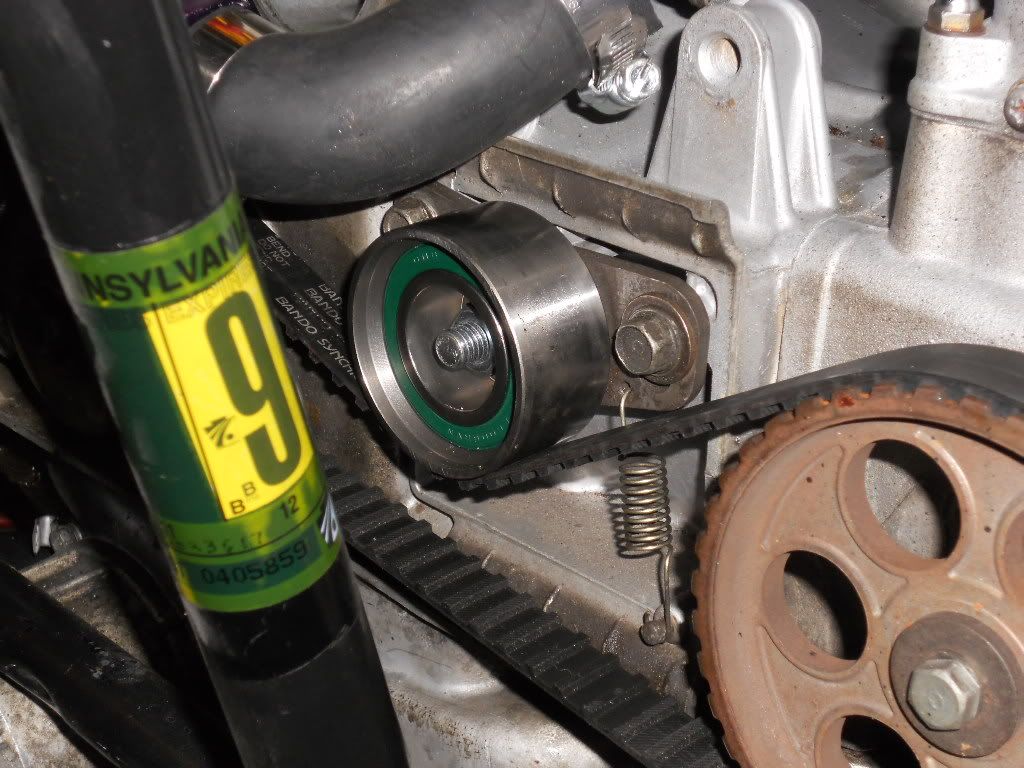
Tighten up your bolts, and bolt back on to your motor.
Image

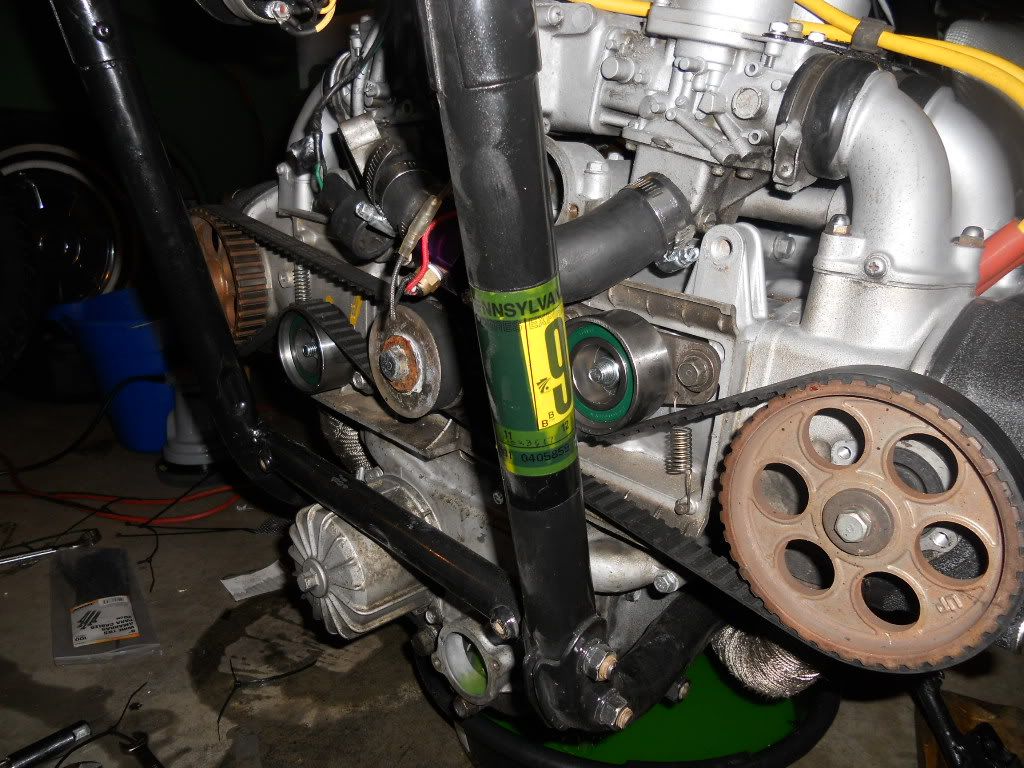
Then do the other side the same way, and your all set.
Image


Oh and dont forget to put your rad back on and fill with fluid :mrgreen:
1981 CB750f --- sold
1982 CX500C --- finally sold -- fundage for the "wing"
1977 GL1000 --- gone
1976 GL1000 --- Sold
1977 GL1000 --- IMMMM BAAAAACK
what huh
Billet Alum. Member
Billet Alum. Member
Posts: 282
Joined: Fri Jun 12, 2009 9:52 pm
Location: Cape May, NJ

Re: DIY: Timing Belt tensioner replacement

#2

Post by what huh »

Some of you may have noticed that i didnt put the heat shield back on. I could have if i drilled a hole in it to let the head of my bolt thru but I choose not to because the environment that these pulleys are designed for is an enclosed area bolted to a larger motor. and sense the pulleys have a lot of air running by them (b/c I run cover-less) I thought no need. If I ran with covers, I would have drilled the relief hole, .... But now im just over thinking things

Long thought process short, The pulleys are designed to be baked in a "oven" Im not installing them in an "oven" :-D
1981 CB750f --- sold
1982 CX500C --- finally sold -- fundage for the "wing"
1977 GL1000 --- gone
1976 GL1000 --- Sold
1977 GL1000 --- IMMMM BAAAAACK
User avatar
ole496
Gold Member
Gold Member
Posts: 1043
Joined: Sun Dec 05, 2010 2:52 am
Location: Twin Cities
Contact:

Re: DIY: Timing Belt tensioner replacement

#3

Post by ole496 »

Boy that is one slick idea, I'm impressed.

Those pulleys look kinda like bearing buddies to me.

Outstanding repair though, this should be in the how-to section :dunno:
1976 GL1000 "Double Nature" https://youtu.be/IK0YS2uuZtc
Our greatest weakness lies in giving up. The most certain way to succeed is always to try just one more time. -Thomas Edison
jafo
Billet Alum. Member
Billet Alum. Member
Posts: 273
Joined: Fri May 13, 2011 10:57 pm
Location: green bay

Re: DIY: Timing Belt tensioner replacement

#4

Post by jafo »

Cool best alternative idler pulley set up I've seen yet, and those look like really good bearings to. Shoul be on the crossover parts list too
Phil US Army vet
Not all who wander are lost

1971 cb 350 (gave away)
2007 xl 1200 nightster (sold)
1979 gl 1000 daily driver work in progress
1976 gl 1000 under the knife, or wrench
badorderbob
Billet Alum. Member
Billet Alum. Member
Posts: 263
Joined: Mon Apr 02, 2007 3:44 pm
Location: Ft.Wayne. In.

Re: DIY: Timing Belt tensioner replacement

#5

Post by badorderbob »

Great Job There action1 !! I did mine back in 09 ( I Think ) and used the same bearing but was able to have the head bolts milled off a little so not to use a shim. But great job! By the way I've had no issues with this this conversion and many trouble free milesto ya!! :crosso Bob
Robert White
User avatar
sunnbobb
Facebook Admin
Facebook Admin
Posts: 21329
Joined: Thu Jan 10, 2008 4:09 pm
My Album: http://www.ngwclub.com/gallery/v/wingmans/sunnbobb/
Location: LaConner, WA

Re: DIY: Timing Belt tensioner replacement

#6

Post by sunnbobb »

Moved to how to section
I found the end of the internet

---- Bradshaw Bikes custom polishing for your wing. Visit us on facebook!

1978 Learning Experience
1980 County Road Hauler "Brain Damage"
1978 Cafe Custom Gl1000 "Vyper"
1977 Bulldog Inspired "Vaincre"
1981 Street Fighter GL1100 "No Quarter"
1983 Supercharged Street Drag "Anubis" (in worx)
1983 gl1100 mint restoration "Kristen"
1985 Aspencade..pondering.
User avatar
plippo
Billet Alum. Member
Billet Alum. Member
Posts: 254
Joined: Tue Mar 18, 2008 4:40 pm
Location: Cincinnati, OHIO

Re: DIY: Timing Belt tensioner replacement

#7

Post by plippo »

i have used a similar approach and documented with pics the all procedure here
https://docs.google.com/open?id=0B8-aFV ... Th3X0k5dEE

based on the discussions here: http://www.ngwclub.com/forum/viewtopic. ... 6&start=30
Fil, Italian but now in the US..
Work in progress: GL1000'77 , a 76 LTD and another 75 being restored, a 76 750 four frame up ready to re assemble.
Riding a CB750 '72 and a blue GL1000 75 ;-)
left home in Europe: Blue 76 for sale, Red 77 (now sold), Black 78.
Post Reply

Return to “How To 4-Wings (Tutorials Only)”