Well, quite by accident I found something that I have not seen mentioned here or anywhere else.
I was silly enough to Loctite the screw holding the wire to the switch, which meant that I couldn't undo it while the engine was in the frame. I had no alternative but to cut the wire.
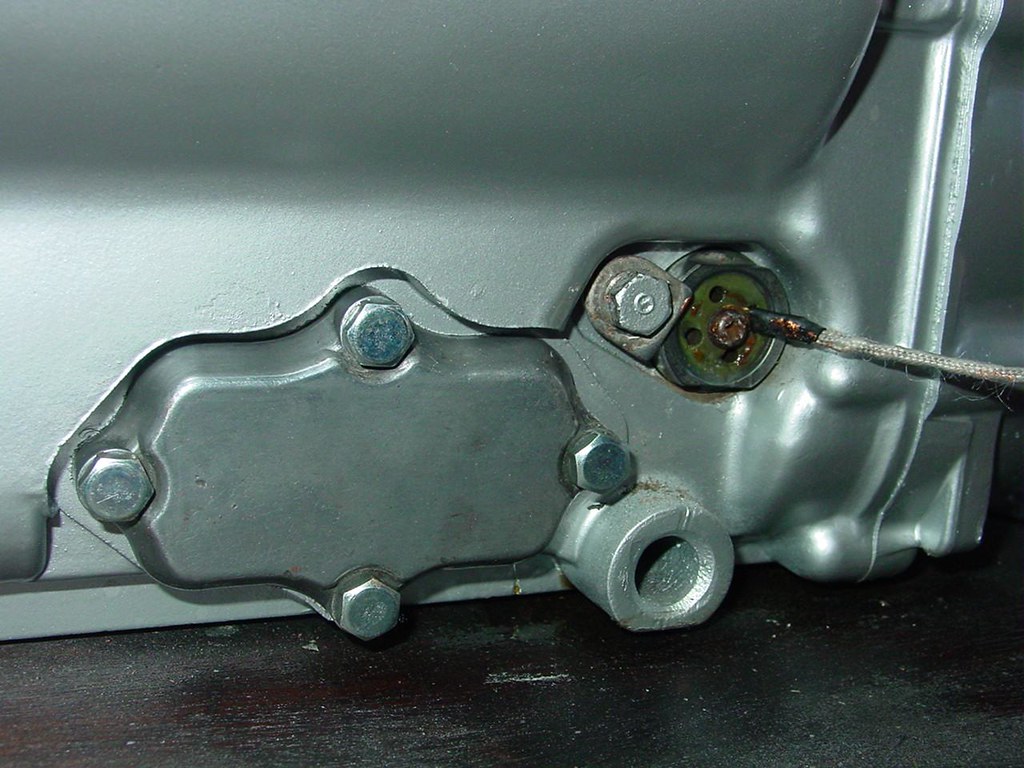
Once the engine was out and I could get a decent purchase on it, DISASTER!, the whole base of the switch came loose in the body.
I couldn't leave it loose as I was sure there would be an oil leak, so what to do?
Since this is a brand new switch I didn't want to risk wrecking it so I took it out of the engine and examined it before doing anything else.
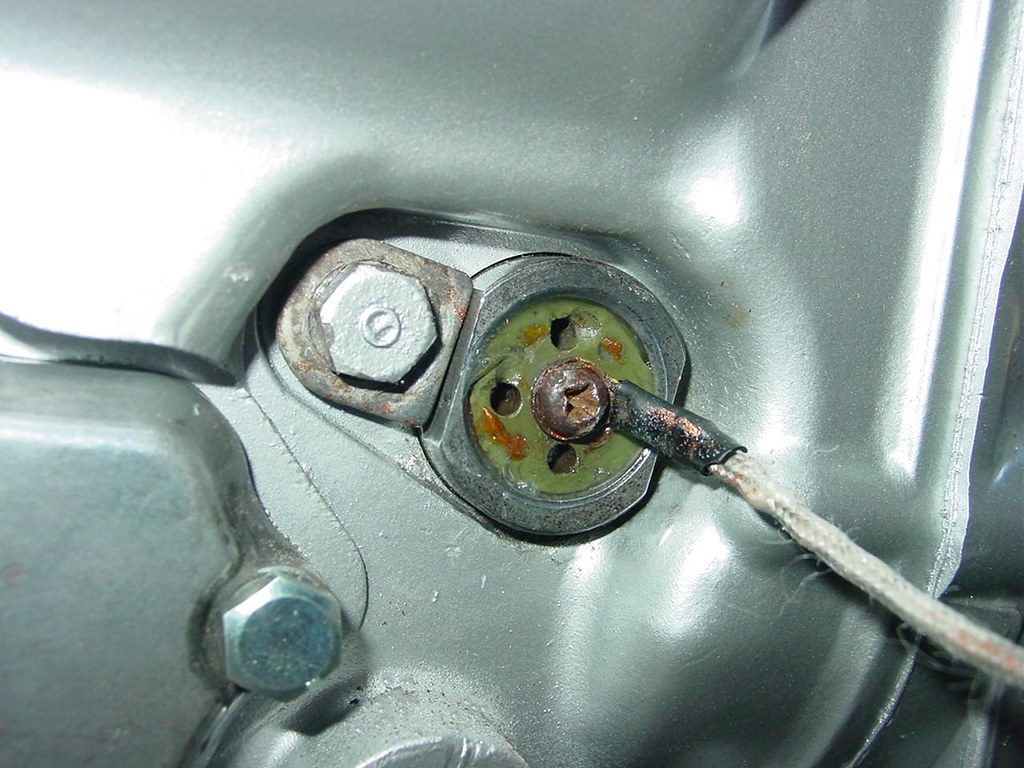
Looking at it, the base has the appearance of being moulded into the main body. But, there are four small blind holes in it.
Thinking about it I realised that it would be very difficult if not impossible to mould the base on when there is a spring loaded plunger inside.
Therefore the reasoning was that these holes were for a tool to tighten the base into the body.
Sure enough, the base unscrewed and then components just fall out.
No problem now to clean the contacts of carbon!
The thread will have to be scrupulously clean and a little Loctite used to hold the base back in when re-assembling it all.
I think that if you could find or make a small pin spanner the switch could even be serviced in-situ (maybe, if you haven't been daft enough to Loctite the screw in the first place.)