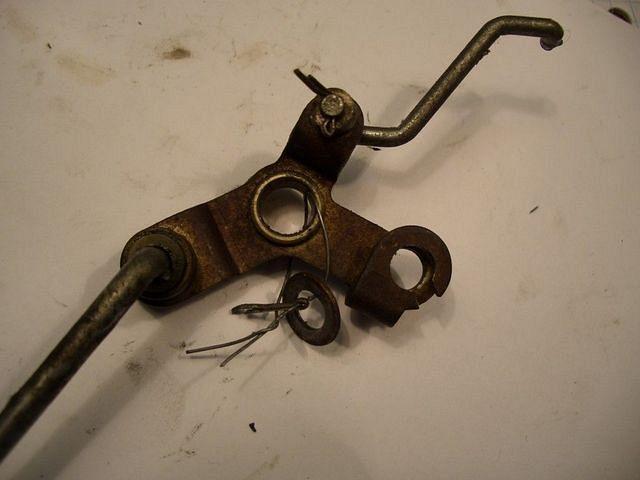
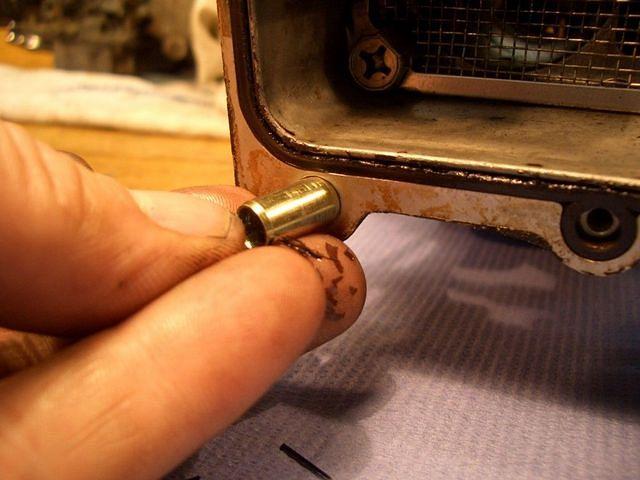
...careful, you don't want to loose this little link
that ....er...links the two carbs.
(it will stay put, but if you go into further dismantling
it's easily lost)
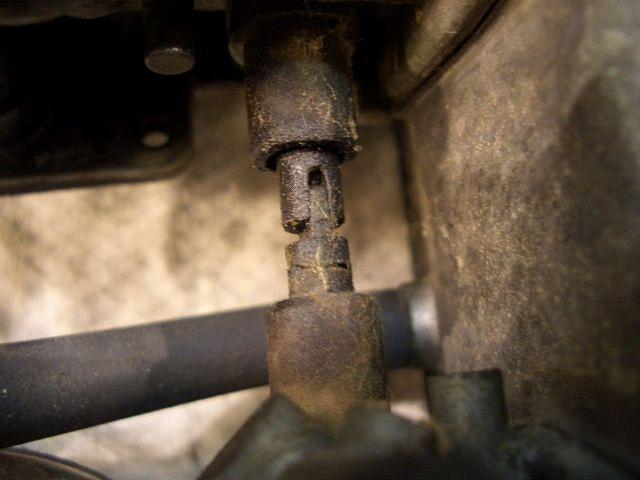
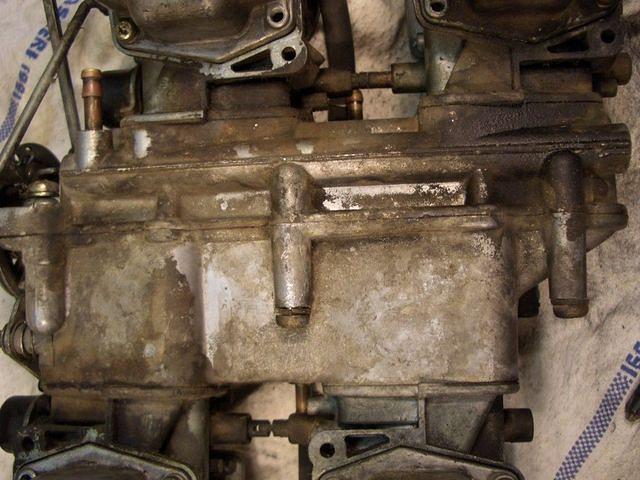
these (two for each carb) are loose.
Remove.

(you'll not find those on the
very earliest GL1000)
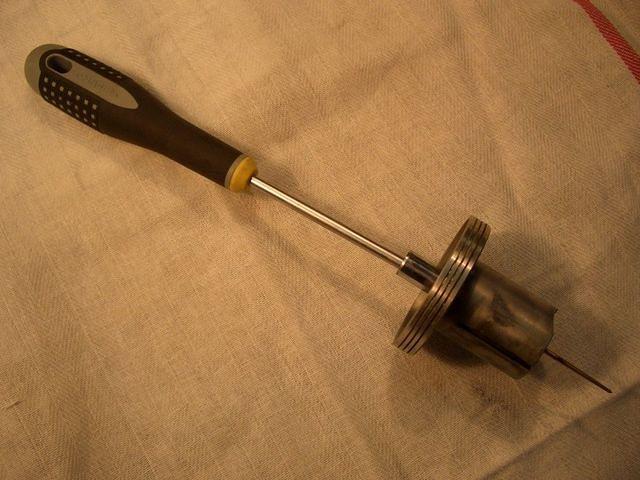
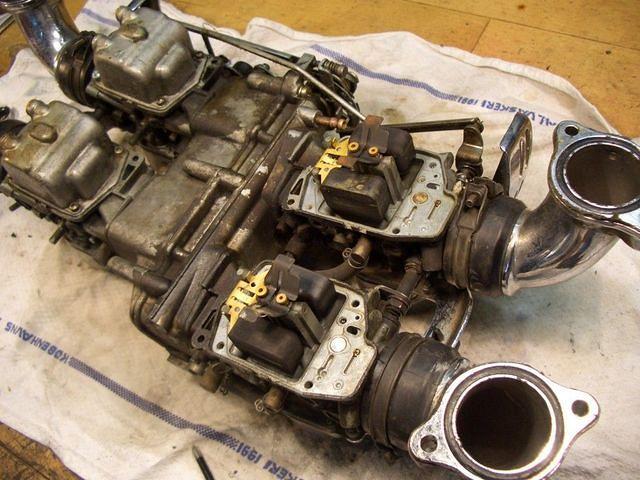
remove vacuum chamber and pistons
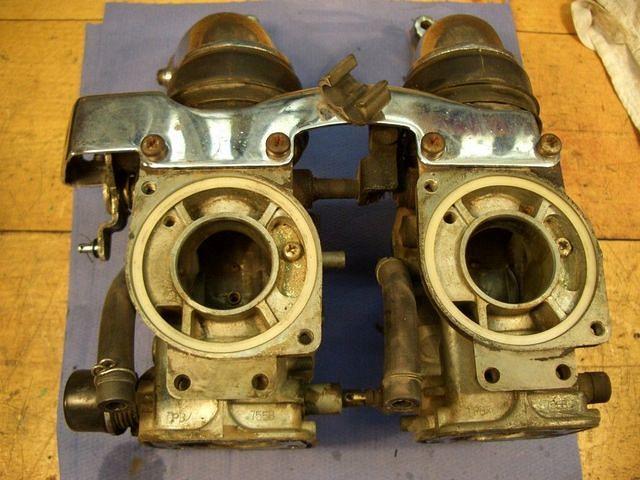
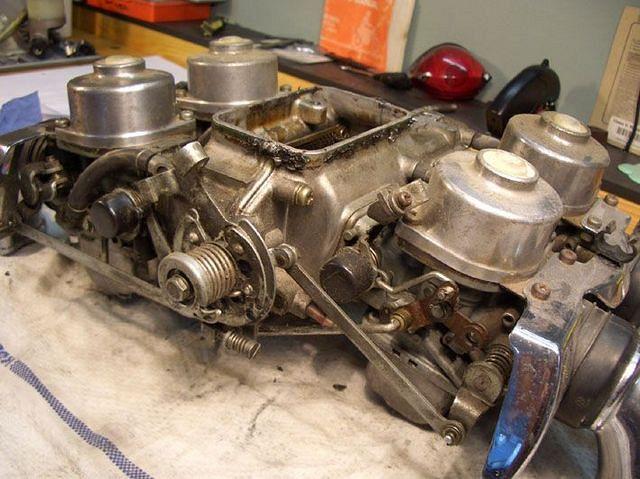
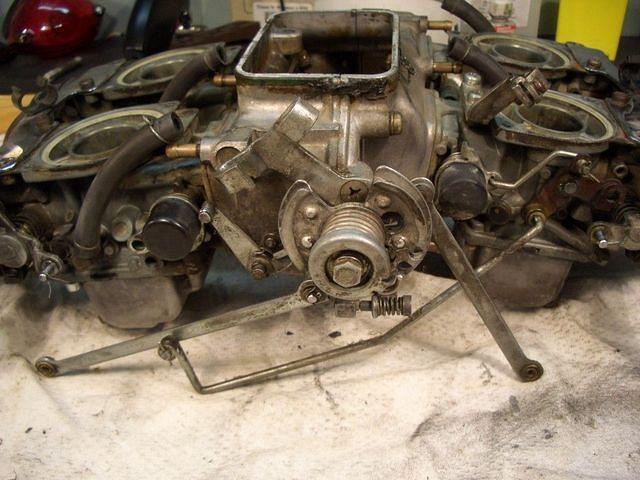
SO THIS IS AS FAR AS YOU'D WONNA DISMANTLE IF YOU GO
THE "RANDAKK" WAY!
That is to say; don't split them up into individual carbs.
keep them together two and two.
For various reasons I'm going all the way in this thread.
You don't need to!
...and PHEW it can be a 'bit' confusing if you haven't done it before:
I counted 472 (fourhundredseventytwo) parts here and then everything became a tad blurry.-)
 Image not hosted on NGW WF
Now's the time to make a system so you keep things separated and
in 'sets'.
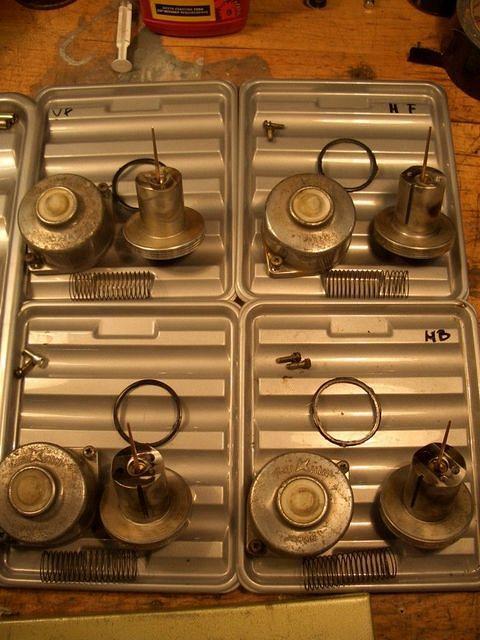
As a minimum for each carb;
Carb body/vacuum chambers/pistons are to be kept as an assembly
I scratch numbers (1 for carb 1 parts and so on) into all the above mentioned parts
Remove needles from pistons.
There's a screw down there: