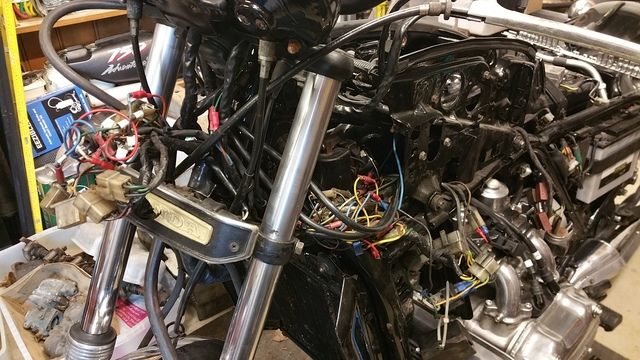
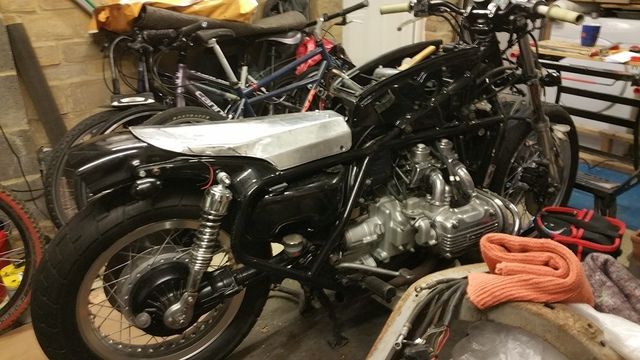
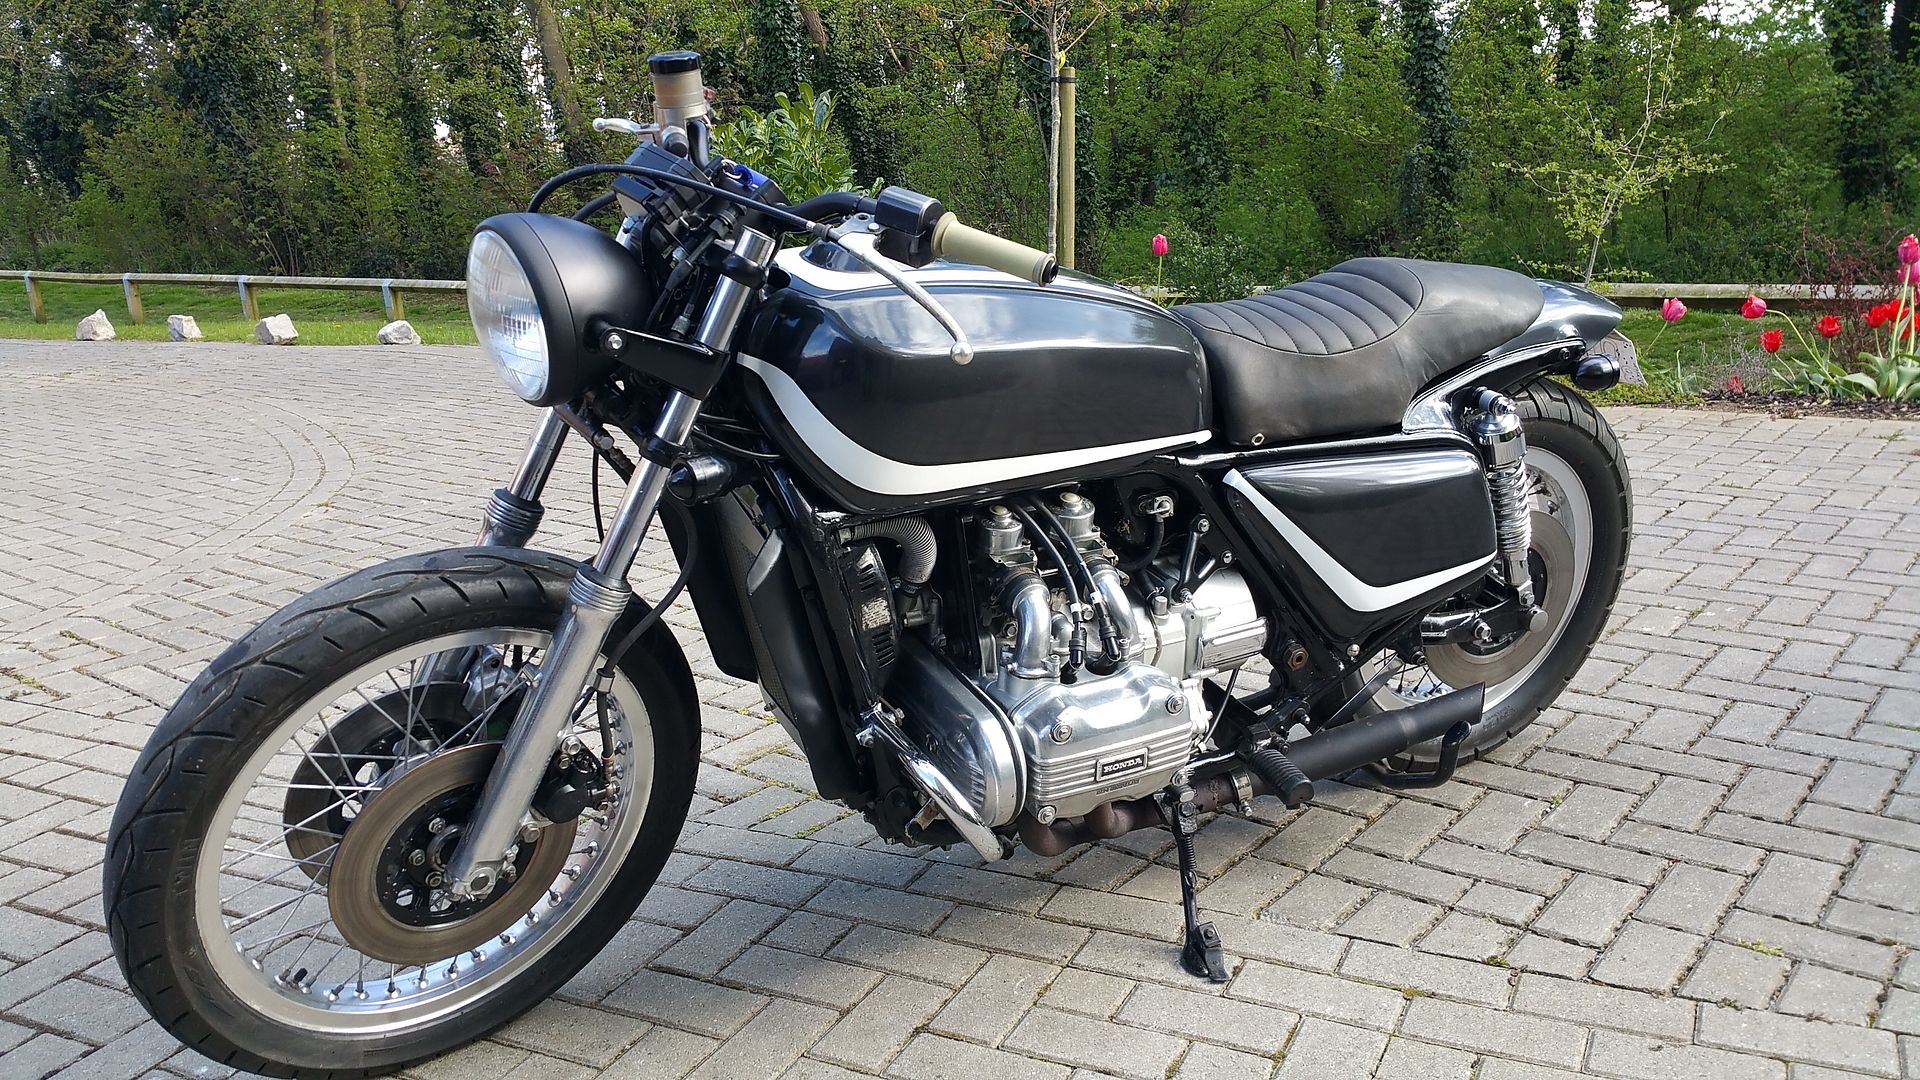
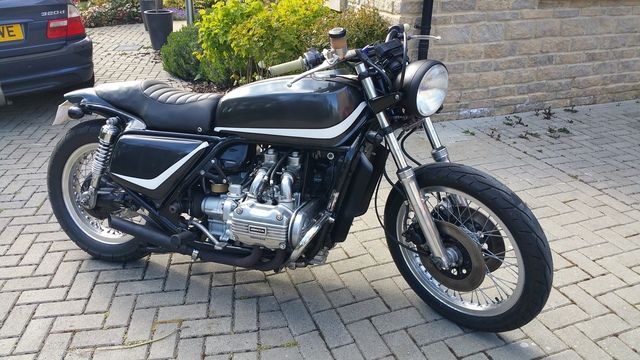
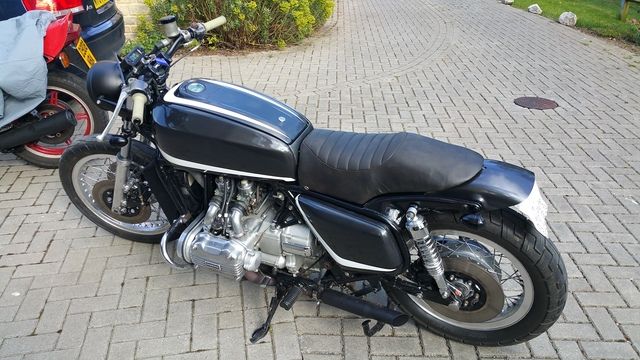
The first run was not a success, 2 miles down the road it dropped onto 2 cylinders. After limping home a process of elimination confirmed that fuel (lack of) was the issue. The rear carbs we fine but the front two were not getting any, time for a carb service. I'd never been inside GL1000 carbs before, but how difficult could it be?! 'Fairly' would be my answer!
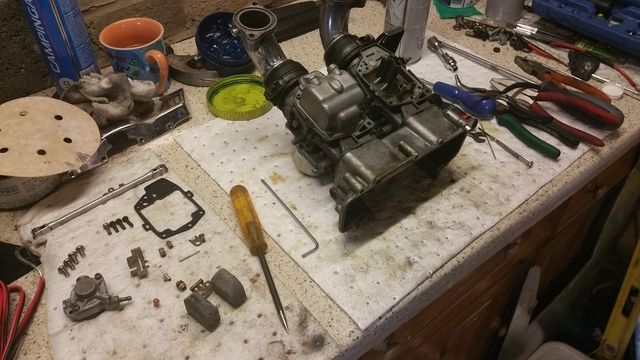
Top tip time, a gas soldering torch set to blow just heat gives a very localised spot of heat to the float pivot posts, just enough to help release stuck pivot pins. Anyone who has been inside these carbs knows how delicate the posts are, a 'kinetic' method is not an option!
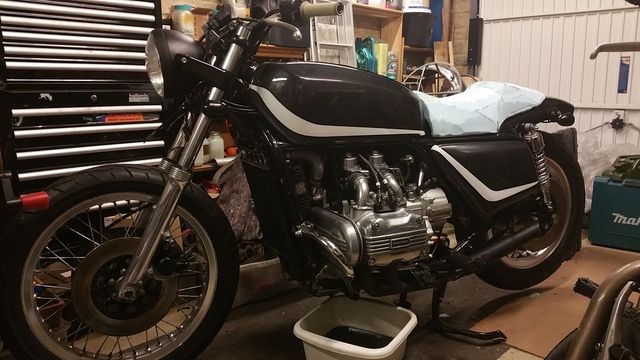
It turned out that the tiny mesh filters that sit above the float valve were completely clogged, I cleaned those, the fuel gallery, flushed the tank, dropped all the carb bits in the sonic bath, threw it all back together and she ran like a dream! I guesstimated and set things slightly rich to account for the pipes and an open airbox with a K&N, seat of the pants feel is great, lots of power all the way through but I will be getting things checked on a RR and set up properly in due course.